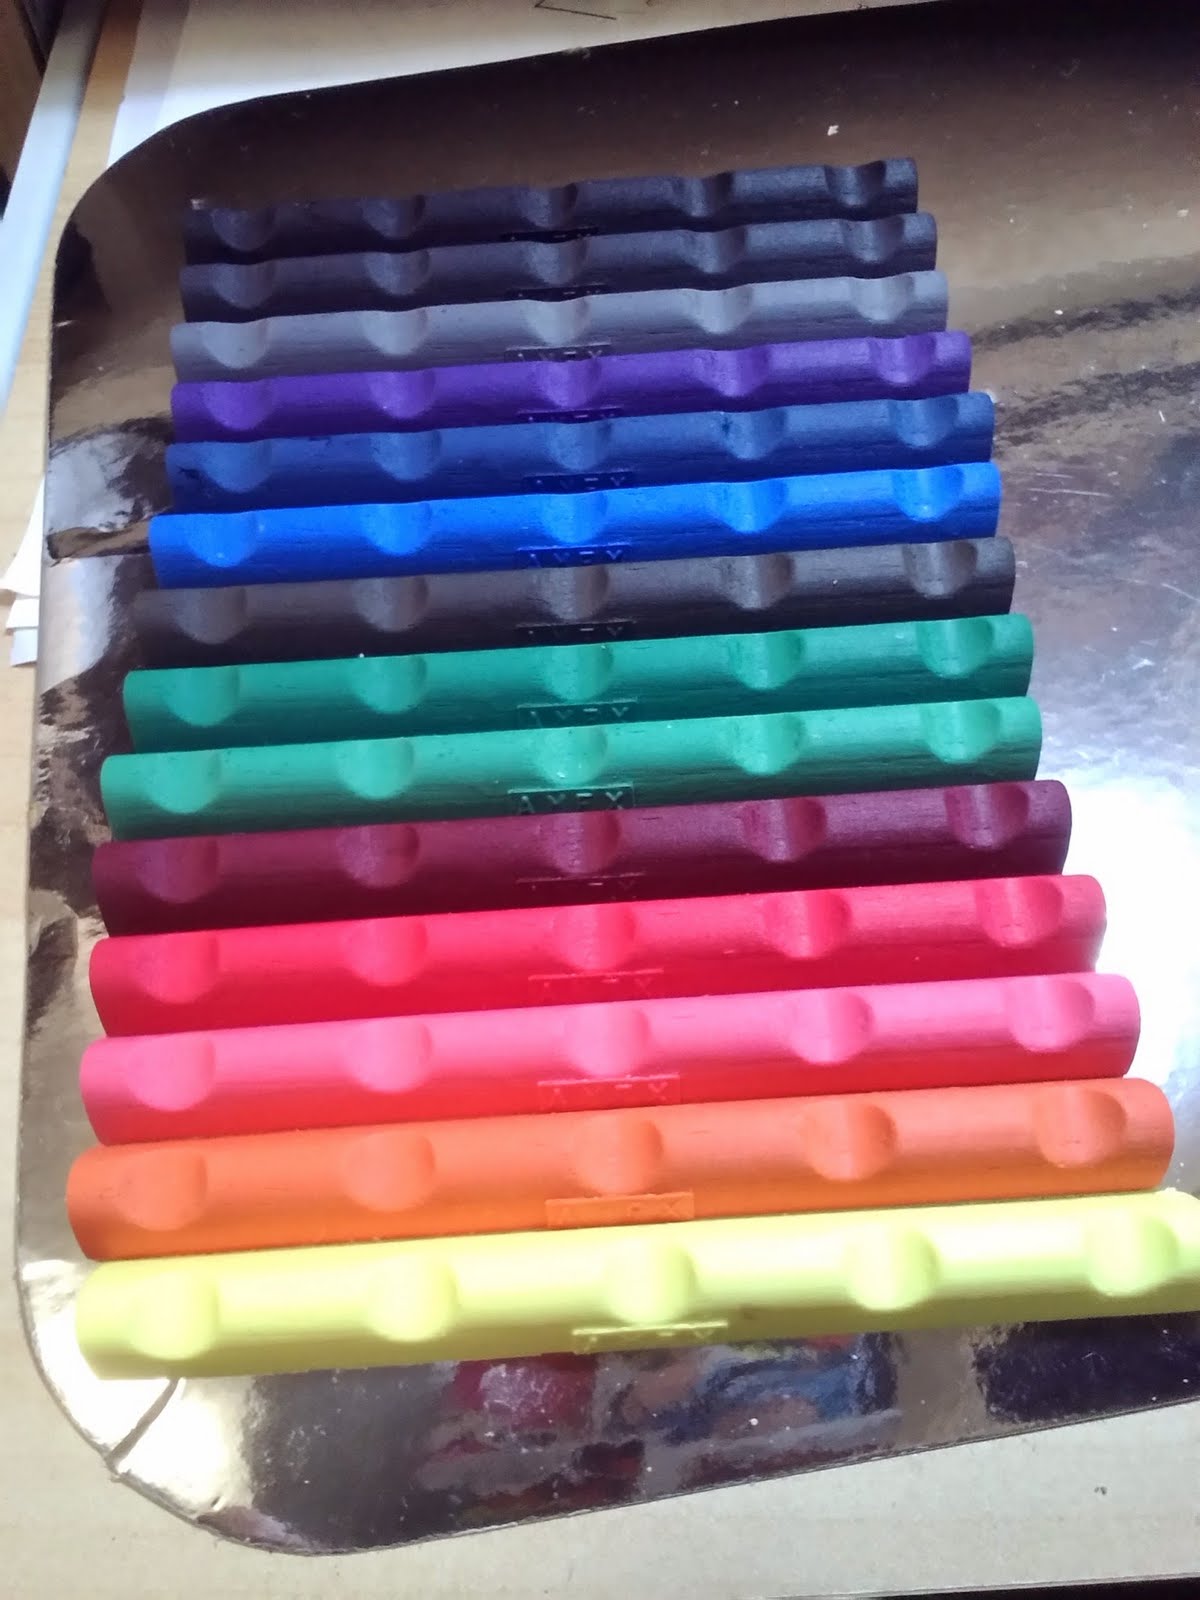
Readying prototypes, trying out different color combinations. More details to come soon.
Sunday, May 25, 2014
Wednesday, August 21, 2013
Liquitex Professional Acrylic Ink
Size: 30mL with a dropper or 150mL refill bottle
Range: A range of opaque and transparent colours with a 30 colour spectrum
Availability: Art stores that stock Liquitex colours
Liquitex Professional Acrylic Ink is a range of 30 extremely fluid acrylics that use super fine pigments suspended in acrylic emulsion. Intermixable with all other Liquitex acrylics and mediums. I also have tested The Neutral Grey 5 #599 with the following products and found they mix fine.
Badger Air Opaque – Black
Windsor & Newton Acrylic Calligraphy Ink – Crimson
Tamiya XF-1 – Flat Black
Testors Model Master Acrylic Enamel – Ford Engine Blue
Humbrol Acrylic – Blue
It is quick drying, permanent and water resistant when used by itself, if it is mixed with other brands of acrylic then this will change. Liquitex Professional Acrylic Ink can be used on a variety of surfaces including paper, canvas and fabrics and most plastics. I tried it on Silicone and it will stick but is not permanent. I also tried it on skin as it is non-toxic to see if it could be used for effect makeups. In thinner layers it stays on quite well with good rub resistance but with heavier layering it tends to scratch off easily.
It has a smooth even coverage that layers well. It has a matte to semi-matte finish depending on the substrate that it is applied to. The spray consistency through my test airbrush (Sparmax DH-103 0.3mm) was very good with no splattering, clogging or breaks in the spray .I used two set pressures, 10psi and 20psi. The higher 20psi was better as it dried the very fluid liquid before it had a chance to run. If held in one spot for too long there is a high chance of spidering and runs. Even though the Neutral Grey 5 is listed as opaque, you will need a few layers to cover any colour below. I would not recommend it for base coating a project unless it is small.
Paasche Colour Cup Lids
My lids for the Paasche H colour cups are now for sale, check the side coloumn. The lids fit the H and VL metal colour cups. No more spilling product on your pants. To order multiples add to cart and then adjust numbers. $3 each in Australia, $5 shipped worldwide.
Sunday, May 19, 2013
Sunday, November 18, 2012
Aztek Cup Adapter for Badger/ Thayer & Chandler OMNI 6000
I have a lot of Aztek cups and bottles, so when I came across this adapter for the OMNI 6000 for only a couple of dollars I ordered it. Below are pictures of the airbrush with the adapter fitted, it just pushes in and stays via friction. All Aztek cups can then be used. It works very well, I can highly recommend it. The Badger code for the part is T893.
Thursday, September 20, 2012
New reviews coming shortly
I will have new reviews coming shortly. One on Element Two foundations and reviews of a couple of accessories.
Monday, April 02, 2012
Sunday, March 18, 2012
Sunday, December 04, 2011
Badger Renegade
First impressions of the Badger Renegade R1V are very good. Nice smooth spray, very easy to control.
Thursday, May 05, 2011
Sunday, April 03, 2011
1980's Thayer & Chandler Model A
| Model A pictured with original accessories and instructions |
| 1980's original box |
This is a Thayer & Chandler model A from the 1980's before they were taken over by Badger Airbrush. Original Thayer & Chandlers can be identified by the hole in the airbrush body near the front of the body.
I received this brush in it's immaculate case in the original box. Which reads 'Artists Air Brushes, The Air Brush of the Particular Artist. The instruction sheet is no different to the earlier one I have from the 1960's.
I attached it to my standard quick connect with a badger adapter, a connector for a push on hose is included. The brush sits very well in the hand and is nicely weighted. It feels more like holding a quality fountain pen than the more popular top mount airbrushes of today.
It is a side feed brush with the cup attaching on the right hand side, there seem to be a variety of cups that came with the model A over the years.
I have 3 different ones. The protection cap for the needle tip is made form plastic, unlike the metal ones on the sixties models. The cap is needed as the needle tip extends beyond the spray regulator. The needle itself is fairly short with a very fine tapered tip, not sure what it measures, but Badger recommend their fine needle as replacement. Badger actually have a list of all replacement parts on their site at http://www.badgerairbrush.com/PDF/Old%20T&C%20Replacement%20Parts.pdf
The trigger is my prefered single piece part and is smooth up and down, the travel is a liitle rough but never sticks and is easy to pull. There is an adjusting screw at the fron of the trigger to set the trigger position.
The spring casing is stiff and hard to remove, this could be different on other examples. Thayer & Chandler pre 1993 used sample parts instead of gages to establish proper tolerance for parts. This way is cheaper to produce but creates problems on the assembly line because some mating parts will not fit together so it was a trial and error when airbrushes were assembled.
It is a side feed brush with the cup attaching on the right hand side, there seem to be a variety of cups that came with the model A over the years.
I have 3 different ones. The protection cap for the needle tip is made form plastic, unlike the metal ones on the sixties models. The cap is needed as the needle tip extends beyond the spray regulator. The needle itself is fairly short with a very fine tapered tip, not sure what it measures, but Badger recommend their fine needle as replacement. Badger actually have a list of all replacement parts on their site at http://www.badgerairbrush.com/PDF/Old%20T&C%20Replacement%20Parts.pdf
The trigger is my prefered single piece part and is smooth up and down, the travel is a liitle rough but never sticks and is easy to pull. There is an adjusting screw at the fron of the trigger to set the trigger position.
The spring casing is stiff and hard to remove, this could be different on other examples. Thayer & Chandler pre 1993 used sample parts instead of gages to establish proper tolerance for parts. This way is cheaper to produce but creates problems on the assembly line because some mating parts will not fit together so it was a trial and error when airbrushes were assembled.
Wednesday, March 23, 2011
OCC Skin Airbrush Foundation
Obsessive Compulsive Cosmetics Skin in R3
- Size 30mL/1oz
- Availability - Obsessive Compusive Cosmetics website and select retailers
- Colour range - 6 Yellow, 6 Reds, 6 Blush & Contour, 6 Shimmers and 6 correctors
- Water based
I tried three of the colours from the red or ruby set, R0, R3 and R5. It is water based with no oils or silicones. Does not need thinning. It is very lightly scented and smells fine. The consistency of all three was different.
The R0 was to thin, the R3 was just right and the R5 was to thick.
I tried applying it with a standard brush and fingers but it tended to bubble up with a white film when rubbed and did not apply evenly. The blue separated from the R5 dark brown and left a blue stain on the skin.
Next I loaded up my airbrush and set it at between 10-12psi. Being very thin the pressure tends to move it around and gather if you are not careful. It is quite thin and gives a sheer matte finish. It is a little too matte for my liking.
Feels fine on the skin with no tightness. Layering can be achieved without getting the leathery look. Becomes slightly tacky after more than one layer. Fairly slow drying, to slow for me. Drying time varied between colours.
The thin R0 gathered around hairs easily and sank into creases which was not good. I did not have this problem with the R3. I did not find it incredibly water resistant as advertised and it transfers fairly easily.It was not easy to repair and tends to gum up when moved once set.
I wore it on my arm for sometime then ran it under the tap to test the water resistance. It stayed on until I touched it, then a film formed and turned the water white. This has to be due to all the white ingredients.
It came of easily with water and a light soap cleanser. The R5 did leave a blue trace that had to be rubbed harder to remove.
Overall: Good range of colours but too many problems to recommend it.
Pros:
- Flows well, never clogs
- Atomizes well
- Easy to mix
Cons:
- Inconsistent mix
- Transfers easily
- Separates
- Too thin for anything but airbrush
Sunday, March 06, 2011
MAC Micronized Airbrush Formula
![]() | |
| NC40 MAC Micronized Formula. |
- Size - 50mL/1.7oz
- Availability - MAC Pro stores only
- Colour range - matches standard MAC foundation colours
- Silicone based
Thanks to my friend David Willis of Vida Studios I tried the original formula that came out a few years ago and it was terrible, it was hard to mix, had a plastic shine and tended to separate on the skin. So when I found this version I had to try it.
It is ready to straight from the bottle, does not need thinning. It is silicone based, so will not thin with or mix with any water or alcohol products.
If you do want to thin it, a silicone fluid like DC 244/245 is required.
I used my standard Sparmax DH-103 brush and set my compressor to 10-12 psi. It sprays nicely with a good clean well atomised look. With the trigger pulled right back for maximum spray width it gets a bit grainy. You should not have the trigger all way back around a persons face any way, so it is not a problem. Thinning slightly will correct this but slow down the drying time.
When applied properly it sits very well on the skin and does not sink into lines and creases. Dries quickly to a natural sheen, which is something I look for or I will not use it. I would recommend powdering lightly as it has a slight tackiness. It feels good on the skin with no tightness and stays well with movement.The coverage is medium but can can be layered without getting the leathery or caked on look. Put on to thick it will look plastic and tend to rub off more easily.
Once set it is rub and water resistant, there is very little transfer when applied correctly. I light buff will remove any excess and return the sheen.
It is fairly easy to repair mistakes or wear. While wet it can be brushed or sponged to remove excess or spread it out. Once dry it does not leave the watermark edge that some products do when a section is wiped away and can easily be filled in with a few more passes with the airbrush.
To remove it you will need a remover as it is water and soap resistant. I used the DC 244 for removal. Most removers for waterproof makeup should also be fine. The airbrush should also be cleaned well as the product will build up inside the brush quite quickly, leading to blockages.
Overall: A good product that is easy to use.
Pros:
- Good colour range
- Mixes and sprays well
- Dries quickly
- Durable
- Looks natural
- Does not clog
- Far better than original formula
- Only available at MAC pro stores
- Can't mix with non silicone products
- Residue builds up quickly in the brush
![]() |
| Test pattern sprayed at 10psi on 5mm graph paper, you can see wide open it starts to spatter. |
Sunday, February 13, 2011
Windsor & Newton Ink
I have chosen W&N ink to use to test the spray capabilities of the review brushes. It has no heavy pigments to clog any thing.
Sunday, November 14, 2010
Old Aerograph
After being stripped, I found the parts are held in place with tiny screws which is annoying and slow to fit back together. I could not remove the trigger as it is attached to the needle guide tray. The needle guide and spring are held in place by the needle itself. There seems to be no way to remove the nozzle without a long forgotten proprietary tool.
Test spray patterns done on graph paper with a 5mm grid.
Click image to see full size.
A ruler showing the average spray width in millimetres
Spray width is around 1/2mm to 7mm
Product used: Windsor & Newton Calligraphy ink to insure clog free testing.
Compressor : Hansa Aero-Pro set to 20psi and 10psi.
Pressing down on the trigger, it catches a little bit and there is no way to adjust the spring tension so it is fairly stiff on the pull back. It takes a little time for the product to start flowing but when it does it atomises well with a nice clean spray that maintains it's width well while you keep it going but it is hard to get the same spray if you stop a start. The needle tends to slip back slightly, probably due to the spring screw setup and it's age, this means it is hard to get it to shut off completely without pushing the needle back.
Overall it is a nice brush to hold but the need for multiple tools to take it apart makes it annoying to use.

Friday, November 05, 2010
1960's Thayer & Chandler
I will be reviewing the 60's Theyer & Chandlers that I recently bought. Plus I have the 80's version also.
Thursday, October 21, 2010
Sunday, September 26, 2010
Vintage Thayer & Chandler
| 1960's model A in original case with instructions and test sheet. |
| 1960's A model with original hose fitting. |
| 1980's model A with original case, instructions and box, which is now squared off. |
| 1980's model A with included accessories, note nozzle cover is now plastic. |
UPDATE: All cleaned and the parts have arrived, now to try it.
I recently received two 1960s and one 1980s model As. All are in good condition with their original cases and instruction sheets. The cases are fantastic hard shells with nice metal trim and silk lining and a velour base. The base has a metal clip riveted on that holds the brush firmly in place without damaging it. the only difference between the 1960s and 1980s cases are the shape, with the 80s one being squared off.
Thursday, September 09, 2010
First Review Sparmax Portable Battery Compressor
![]() |
| Pictured with a 20c piece for size comparison Specifications: Sparmax DAC-25
I personally own this compressor and have been using it for a couple of years. I have hooked it up to a pressure gauge and it reaches exactly 26psi. Sparmax recommend the SP-35 Air Brush for this model compressor and I got it as a set. The same set is also sold under other names, Temptu, Graftobian, OCC and Kett. Sometimes with the compressor housed differently. Temptu having the fanciest packaging. Running the compressor continuously does not over heat the unit, it can also be run inside the carry bag. I have run mine for over 1 1/2 hours with no trouble. The battery pack on a full charge will last just over an hour if run continuously and much longer if you use it in shorter bursts as would be normal. Here are the results for maximum continuous pressure with product. I fitted a pressure gage between the compressor and guns that were all fitted with quick connects. The product used to test was Badger Air Opaque. I also used the mains power and not the battery. I have listed if the brush will spray and the maximum continuous psi reached with each brush.
These tests show that you do not have to use the recommended SP-35 brush with the compressor. The Sparmax DH-103 was the unexpected standout. |
Sunday, August 22, 2010
Check the links
Adding links to the various official manufacturers sites and other interesting airbrush sites.
Subscribe to:
Posts (Atom)


